Windows Mail setup for New Qwestoffice.net Accounts
Open up Windows Mail
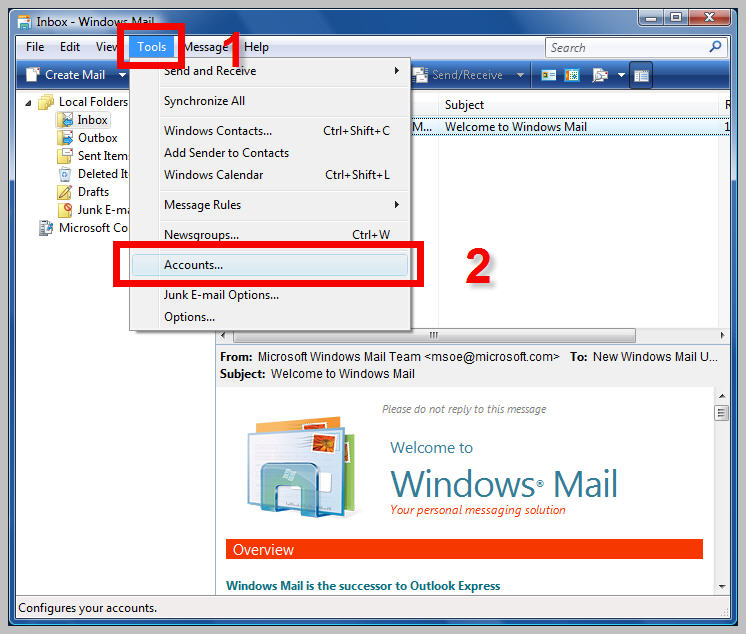
1. Select the 'Tools' menu
2. Select 'Accounts...'
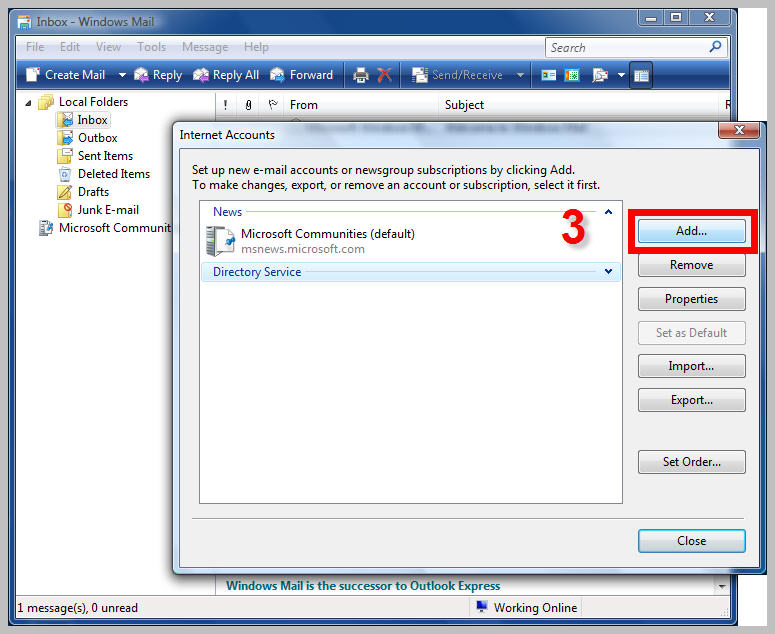
3. Click the 'Add' button
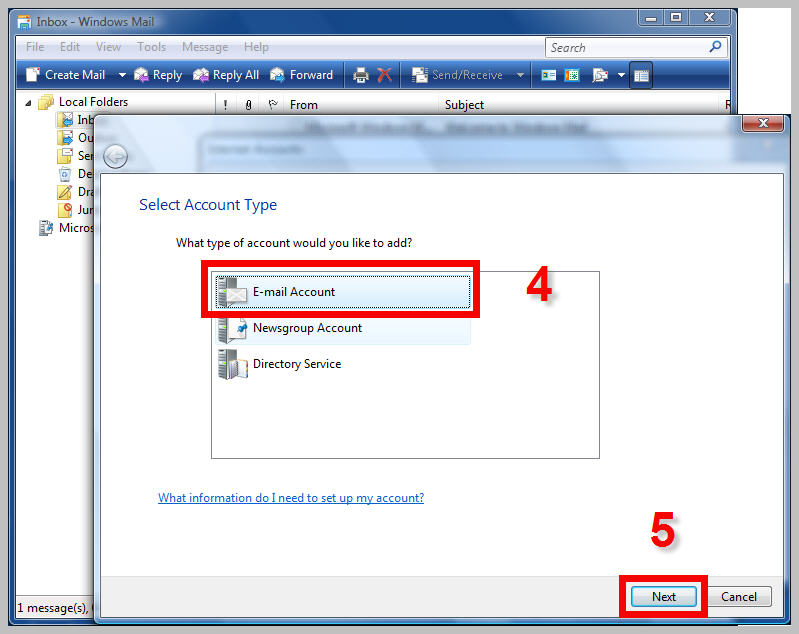
4. Select 'E-mail Account'
5. Click the Next button
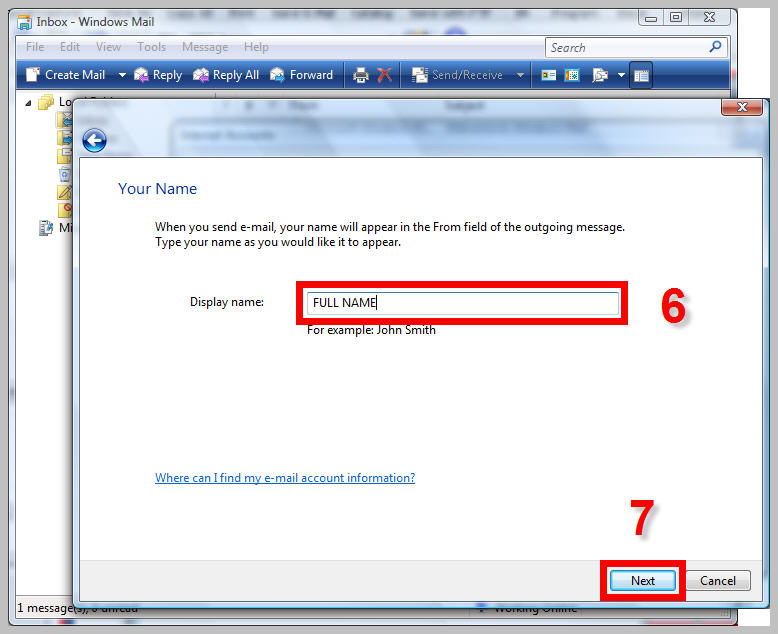
6. Type in your full name or the name of your company. This is what will appear in the From field of the e-mail messages you send and can be anything you wish
7. Click the Next button
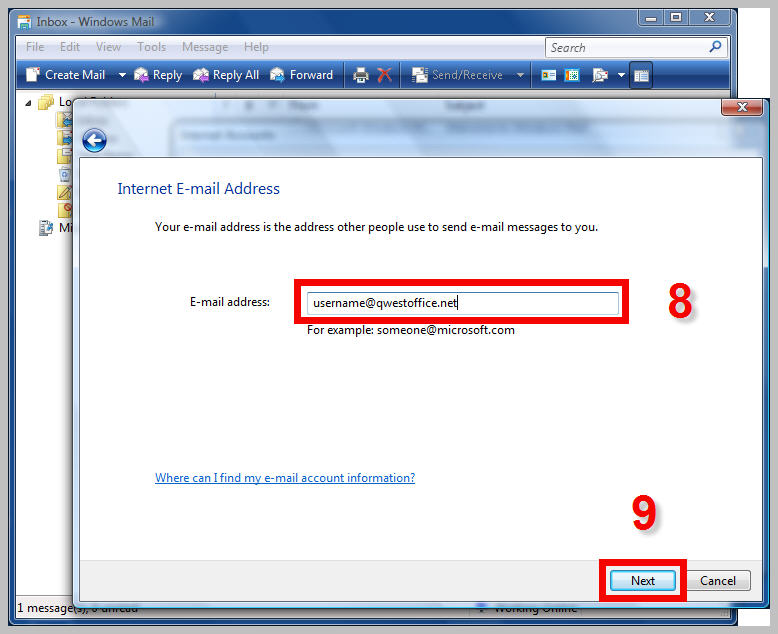
8. Type in your qwestoffice.net email address. This will take the form of 'johndoe@qwestoffice.net' and this will be your return address
9. Click on the Next button
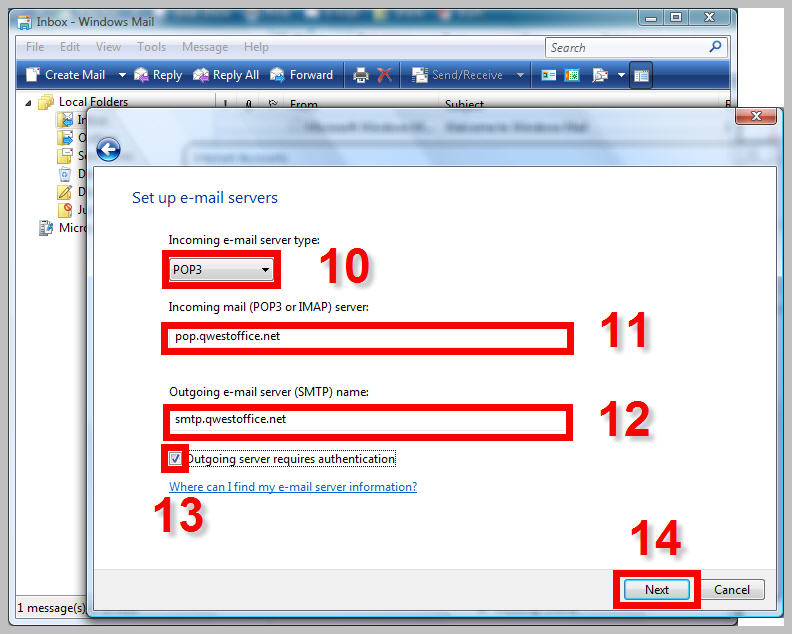
10. Select 'POP3' from the drop-down menu (POP3 is usually the default)
11. Type 'pop.qwestoffice.net' for the incoming POP server
12. Type 'smtp.qwestoffice.net' for the outgoing SMTP server
13. Click in the box next to 'Outgoing server requires authentication' so a checkmark appears
14. Click on the Next button
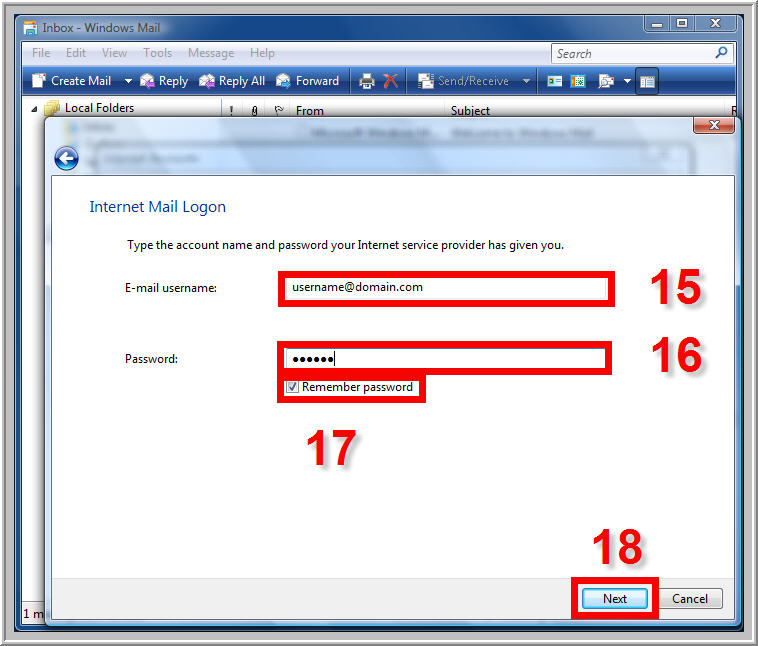
15. Type your qwestoffice.net email address
16. Type in the password that was set for this e-mail address. (NB If you cannot remember what the password is then log into http://sitecontrol.qwestoffice.net with your primary email address, go to the Email section and reset it)
17. If you want Windows Mail to remember your password, check the Remember password box
18. Click the Next button
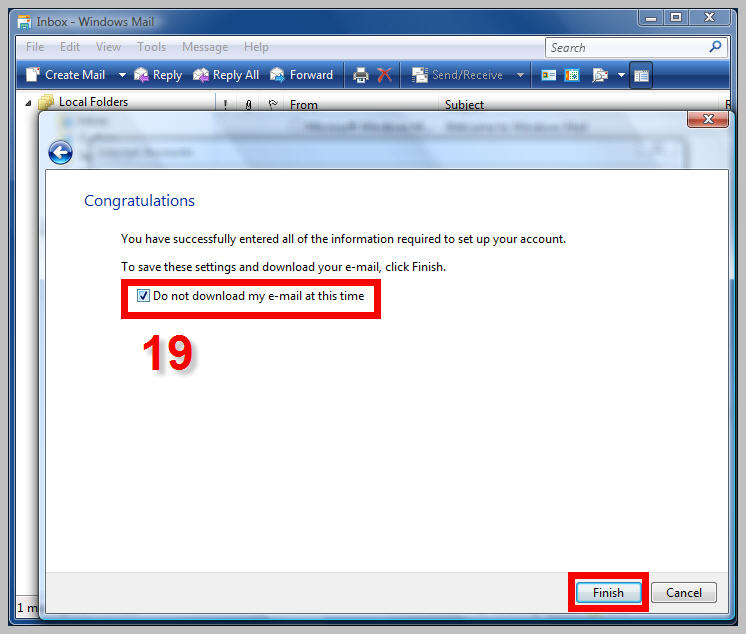
19. Click into the box next to 'Do not download my e-mail at this time' so a checkmark appears in the box. Click Finish
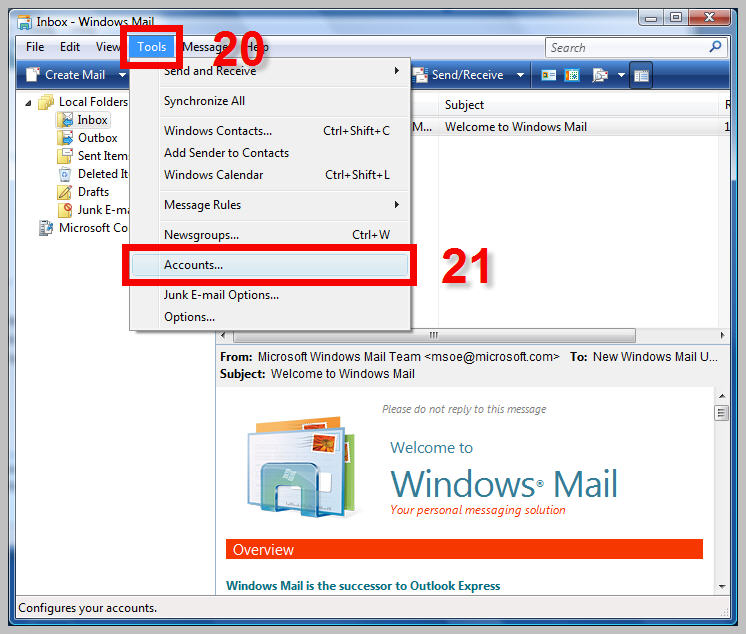
20. Click on Tools
21. Click on Accounts...
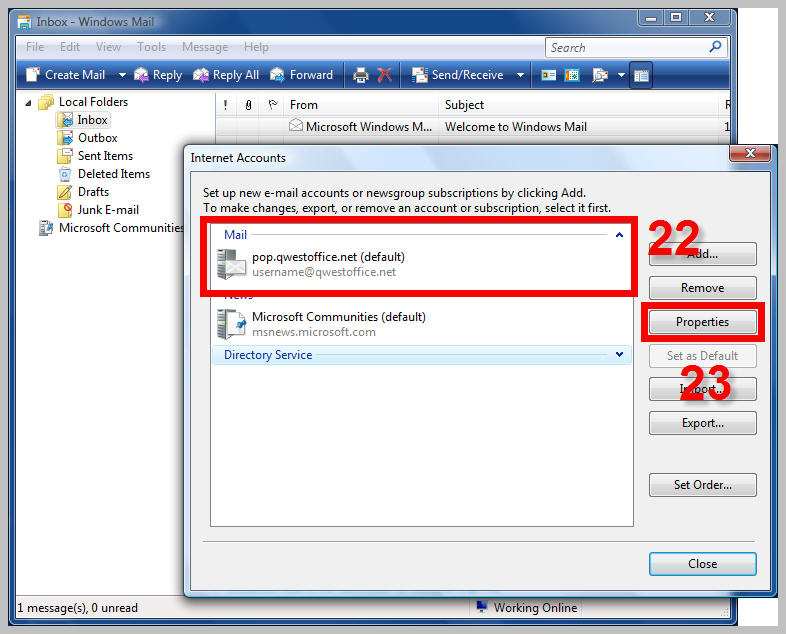
22. Select your qwestoffice.net mail account
23. Click on the Properties button
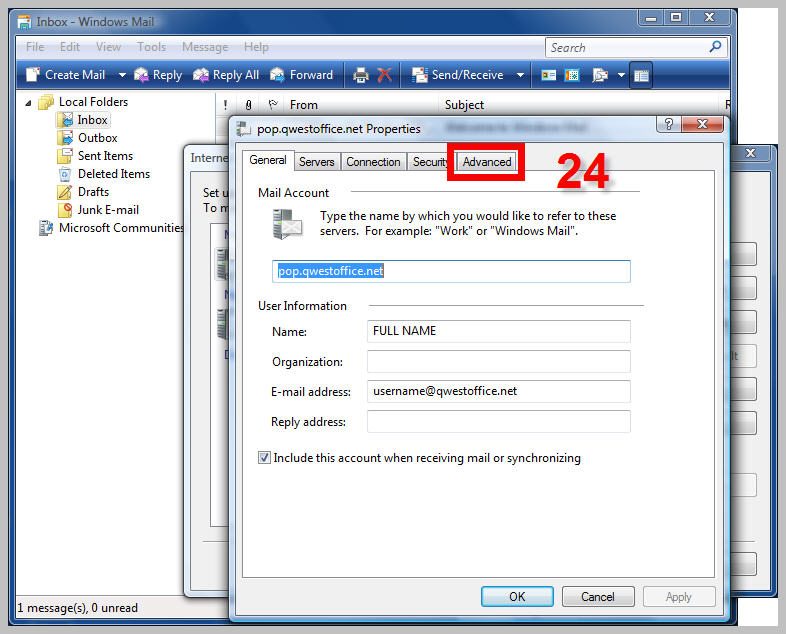
24. Click on the Advanced tab
25. Click in the box next to 'This server requires a secure connection (SSL)' under Outgoing mail (SMTP)
26. Next, change the Outgoing mail (SMTP) port number from '25' to '465'
27. Click on the OK button

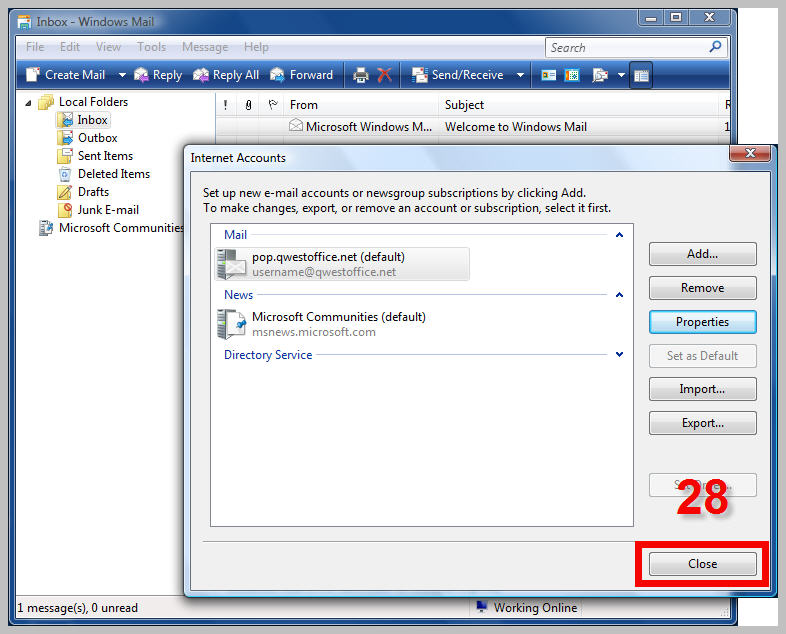
28. Click on the Close button
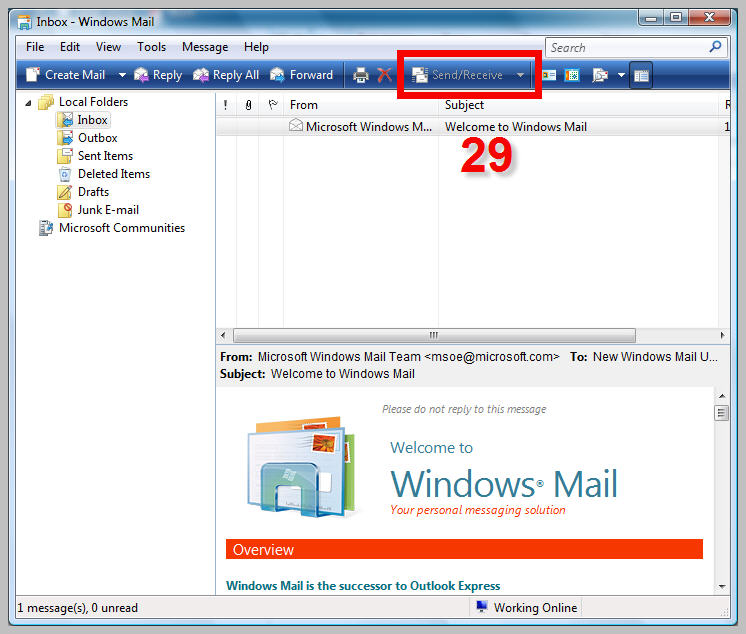
29. Lastly, click on the 'Send/Receive' button to test sending and receiving mail. If any errors pop up, check your settings before calling Technical Support on 1-866-881-3689